Guide to Create an Order Directly on the Dashboard
The Create Order feature allows Sellers to place orders directly on BurgerPrints with just a few steps. This feature offers two methods to create an Order:
Method 1: Create an Order by Adding a Custom Product
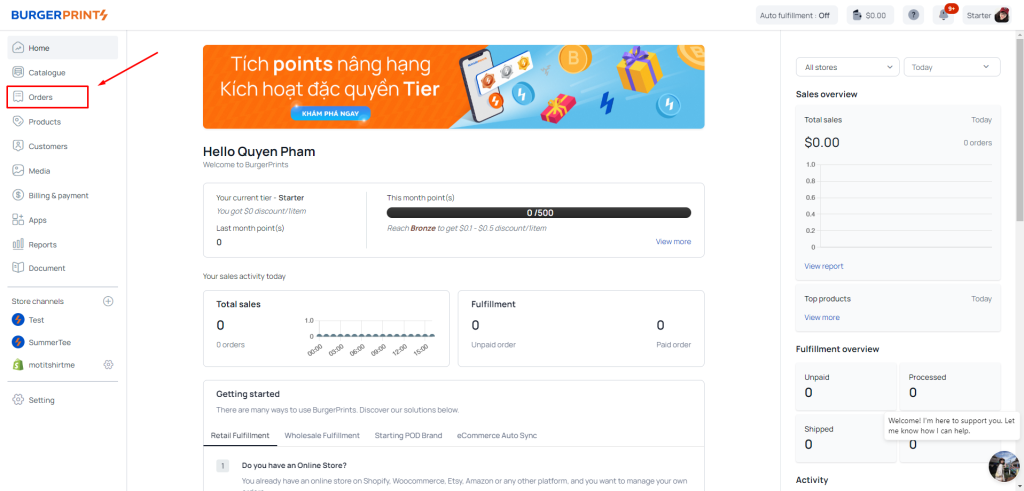
1: Create and log in to your account at https://dash.burgerprints.com/. On the BurgerPrints Dashboard screen, select Orders >> Create Order.
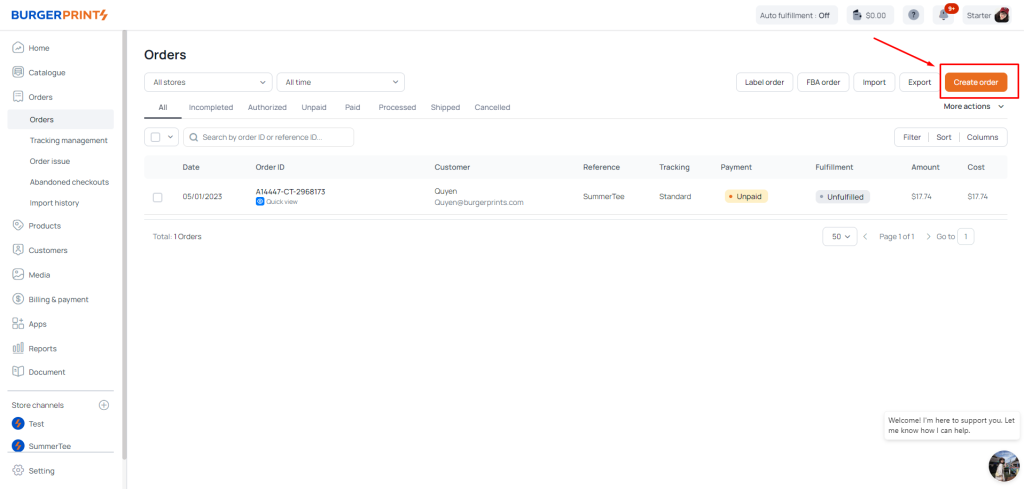
2: On the Create Order screen, click “Add custom product” to add a new product you want to include in the order.

In the Product Info section, click on Base to select the type of product you want to order, choose the production factory in Location, select the colors in Color, and choose the product sizes in Size.
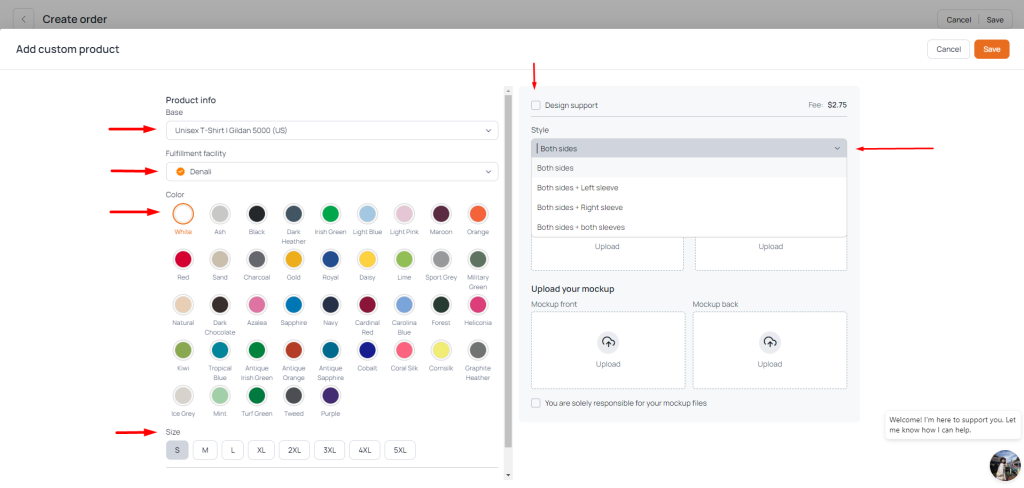
Then select Style – choose the print area you desire.
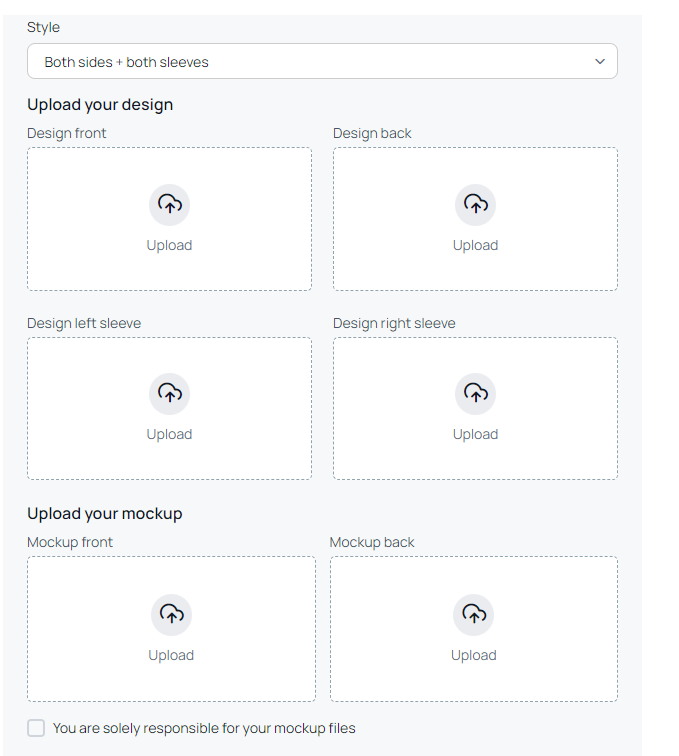
Tiếp theo tại upload your design, bạn nhấn vào upload để tải lên Design muốn in lên sản phẩm, bao gồm Design front và Design back. Tại Upload your Mockup bạn nhấn chọn upload để tải Mockup sản phẩm, gồm Mockup front và Mockup back.
Next, at “Upload your design“, click on “Upload” to upload the design you want to print on the product, including the design front and the design back. At “Upload your Mockup“, click “Upload” to upload the product mockup, including the front mockup and the back mockup.

Uploaded images will be saved in the Media section.

Then, check the box: “You are solely responsible for your mockup files” to take responsibility for the mockup files you have uploaded. Then click Save to upload the product.
Additionally, if you only have a mockup and want to use the design service from BurgerPrints, you can refer to the guide on how to create an order using the Design Support service.

3: After adding the product, on the Products interface, click on Quantity to select the quantity you want to produce, as well as detailed information about the product cost. You can continue to edit the product by clicking on the pencil icon, delete the product by clicking on the trash bin icon, and add one or more products by clicking on Browse product or Add custom product.

Next, in the Shipping Info section, click Edit to enter the recipient’s information, delivery address, etc. Click Save when finished.

In the Shipping service section, select the required shipping unit.
The Store section is where you choose the seller’s store address. The Reference order is an order code that allows users to set it themselves for the purpose of synchronizing the order code on the store and making it easier to search for orders when needed.

IOSS is the section for entering the EU tax code for orders shipped to the EU. If the user does not provide this code, the system will automatically use BurgerPrints’ code, and you will have to pay a fee to BurgerPrints. If you already have a code and enter a valid one, tick the box “My IOSS code is valid and correct” and you will not have to pay any additional fees.

After entering all the data, click Save to create the order.
Method 2: Creating an Order Using Browse Product
1: Create and log in to your account at https://dash.burgerprints.com/. On the BurgerPrints Dashboard screen, select Orders >> Create Order as shown in Method 1.

On the Create Order screen, click “Browse product” to add a new product to the order from the products that have been previously created in the Products section.
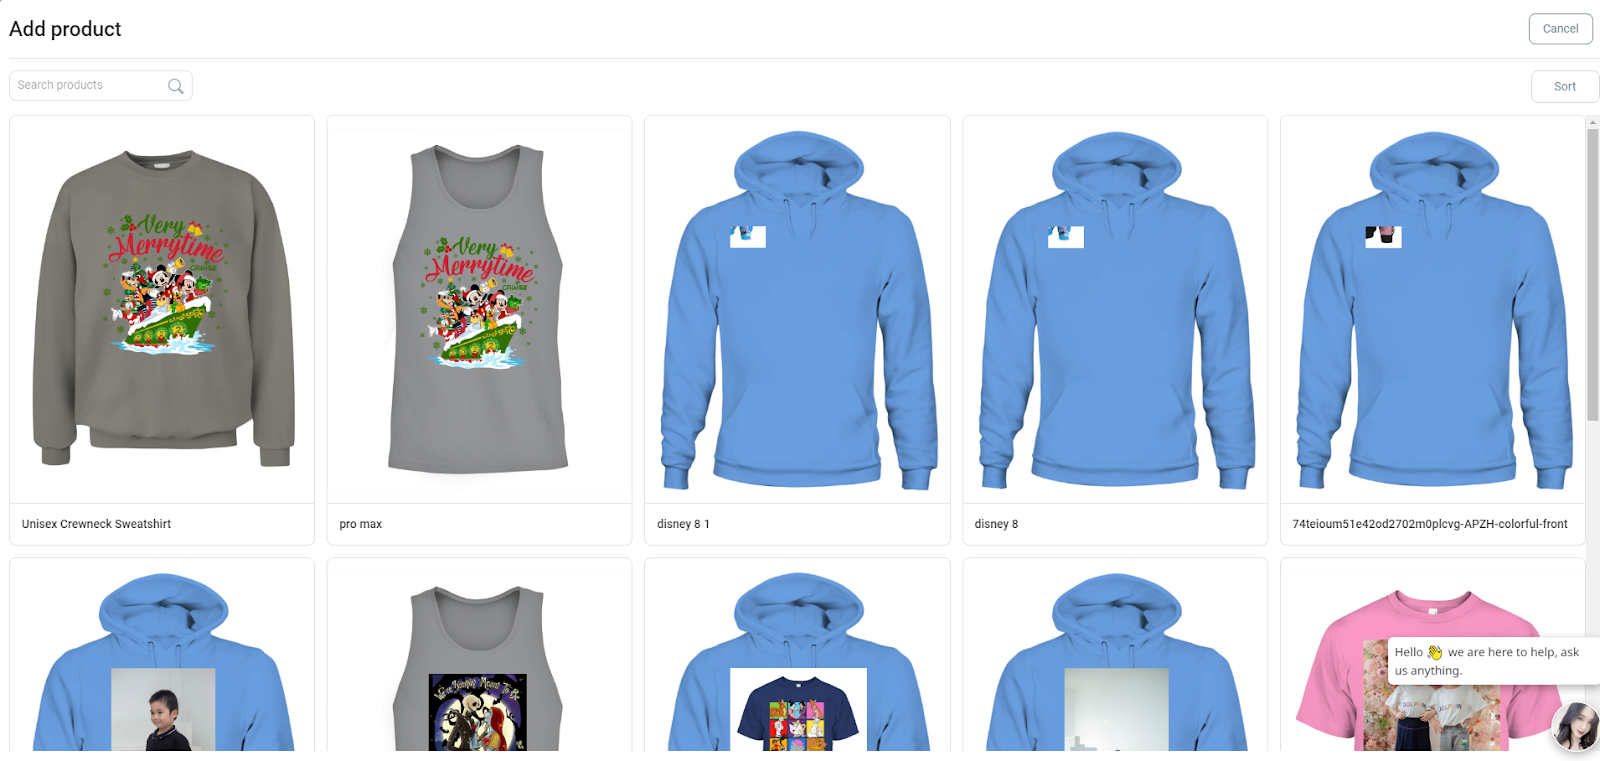
The interface inside Browse Product will display the pre-created products. Select the product you want to order.

After selecting the desired product, there will be several options: Base to choose the type of product you want to order, Location to select the manufacturing factory, Color to choose colors, Size to choose product sizes, and Quantity to choose the number of items to be produced. Click on “Add product to order” to create the order.
Step 3: This step involves the same operations as Step 3 in Method 1 described above.
After creating the order using either of the above methods, the system will automatically redirect to the “All Orders” section.
Step 4: To finalize the order for production and shipment to the customer, the seller must pay for the order. Select one or multiple orders and make the payment by clicking on “Pay.”

In the All Orders section, you can see all the created orders along with their statuses.
- All: All orders.
- Incompleted: Orders that are erroneous, missing information, or not completed.
- Authorized: Orders where customers have purchased through the seller payment gateway, and the seller has paid BurgerPrints fees.
- Unpaid: Orders with complete information but not yet paid.
- Paid: Orders that have been paid.
- Processed: Orders that are in production.
- Shipped: Orders that have been shipped.
- Cancelled: Orders canceled at the seller’s request.