


 Tiếng Việt
User Guide for Logs Feature
The Logs feature implemented by BurgerPrints helps Sellers get an overview of fulfillment activities performed on the system. Sellers can monitor all events in their accounts, ensuring transparency and the best fulfillment experience at BurgerPrints.
The Logs feature will detail the history of the following activities:
- Import (Import order, Import tracking): Activities of uploading orders and tracking to the system.
- Export (Export product, Export order, Export tracking, Export transaction history, Export tickets): Activities of exporting product files, orders, tracking, payment history, and tickets from the system.
- Sync (Sync order, Sync product, Sync tracking): Activities of synchronizing orders from store channels (such as WooCommerce, Shopify, etc.) to the system, as well as synchronizing products and tracking from the system to store channels.
- Auto payment: Details of automatic payment transactions when using the Auto fulfillment feature.
Instructions to view Import history:
Step 1: Click on the Logs tab in the left navigation bar. Then select Import.
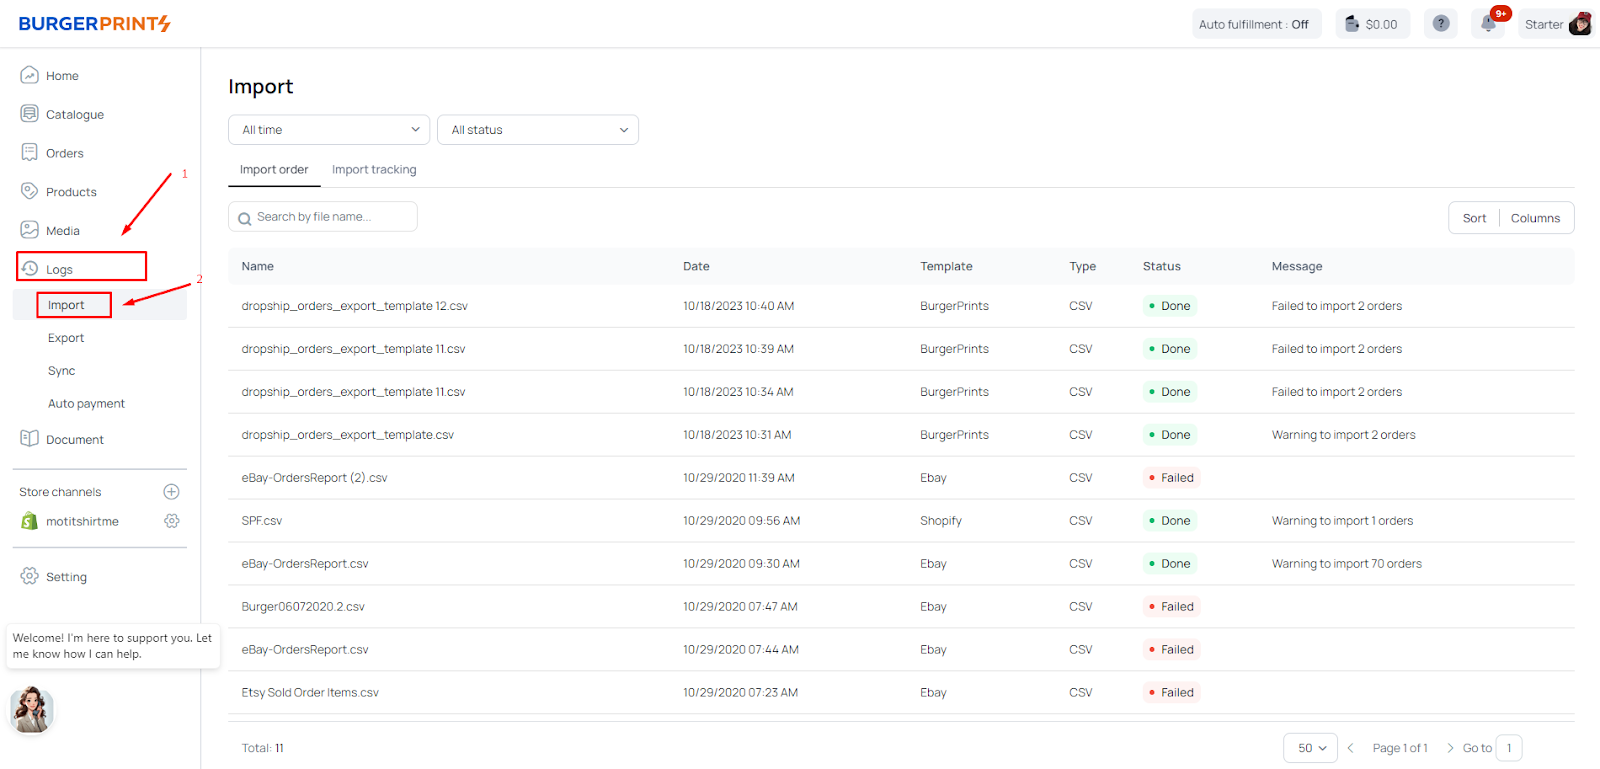
Here, the Seller can view the history of downloading orders and tracking them on the system.
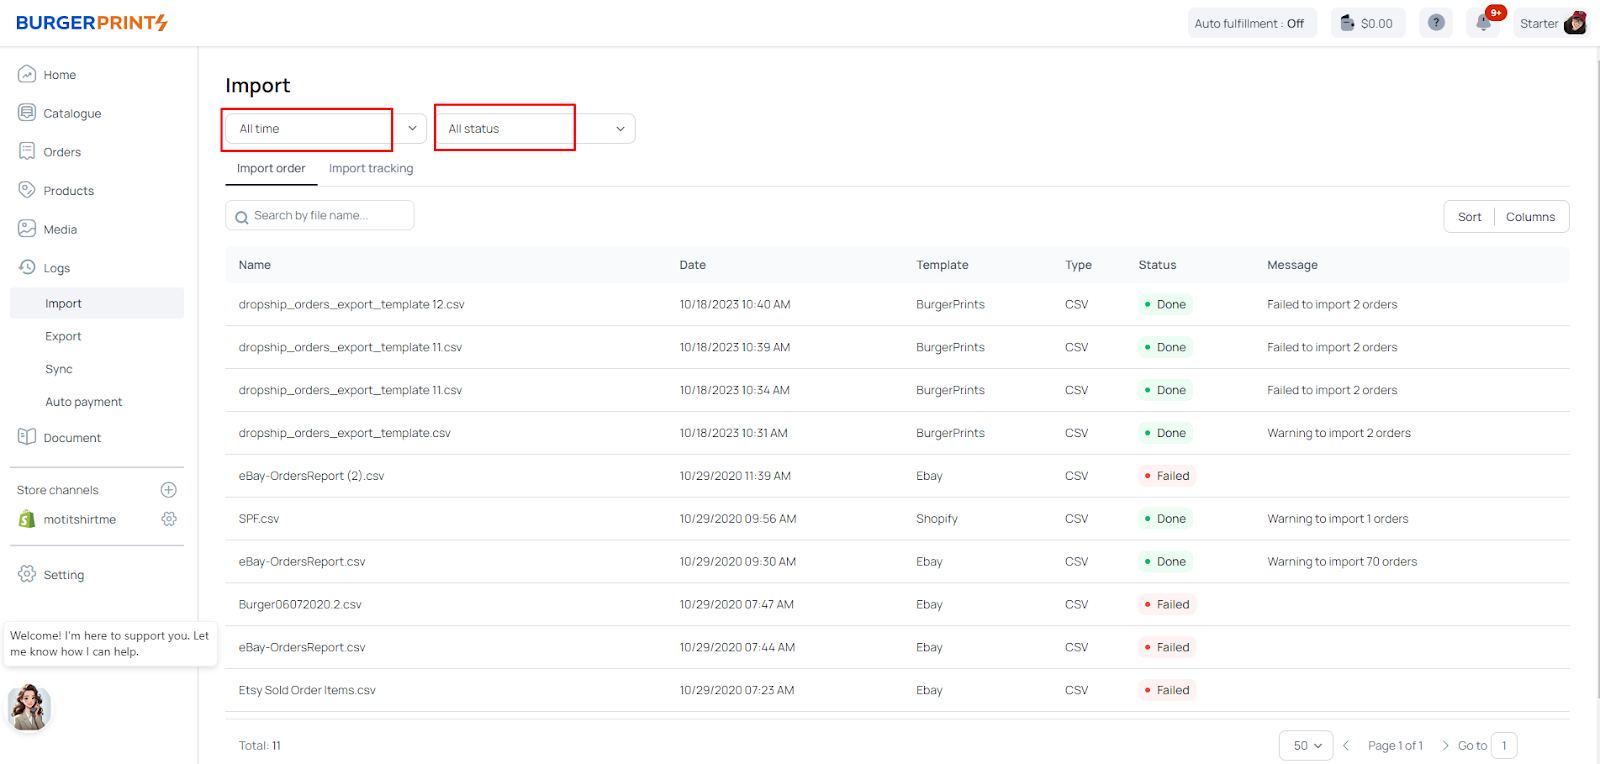
Step 2: The seller can filter the information by time by clicking on “All time” and selecting the desired time range to view import information. Additionally, the seller can filter by import status: successful (Done), unsuccessful (Fail), or unresolved (Pending) by clicking on “All status“.
Step 3: To view the import order history, select the Import order section to see the order files that have been uploaded to the system.
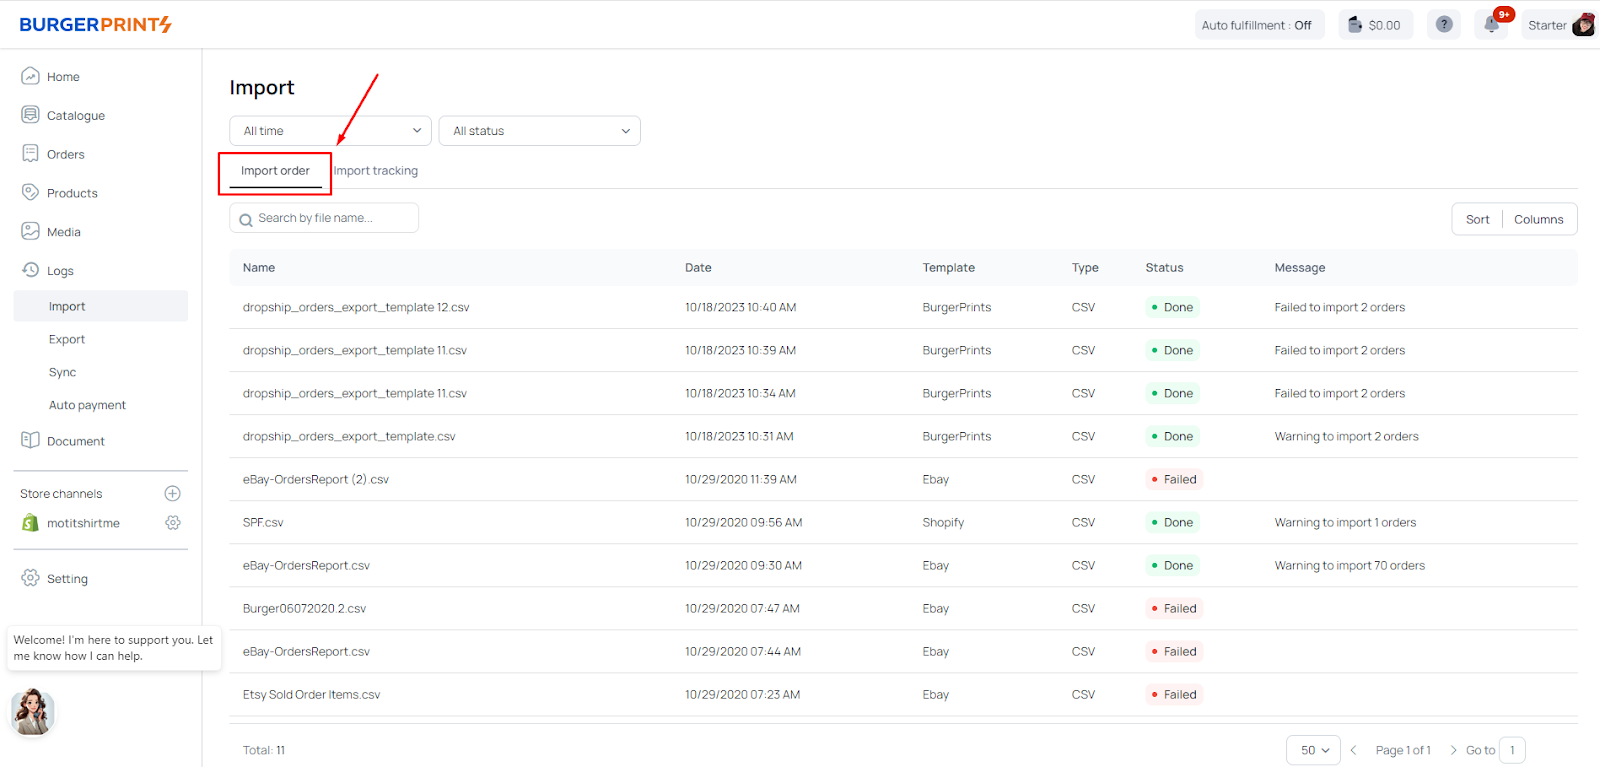
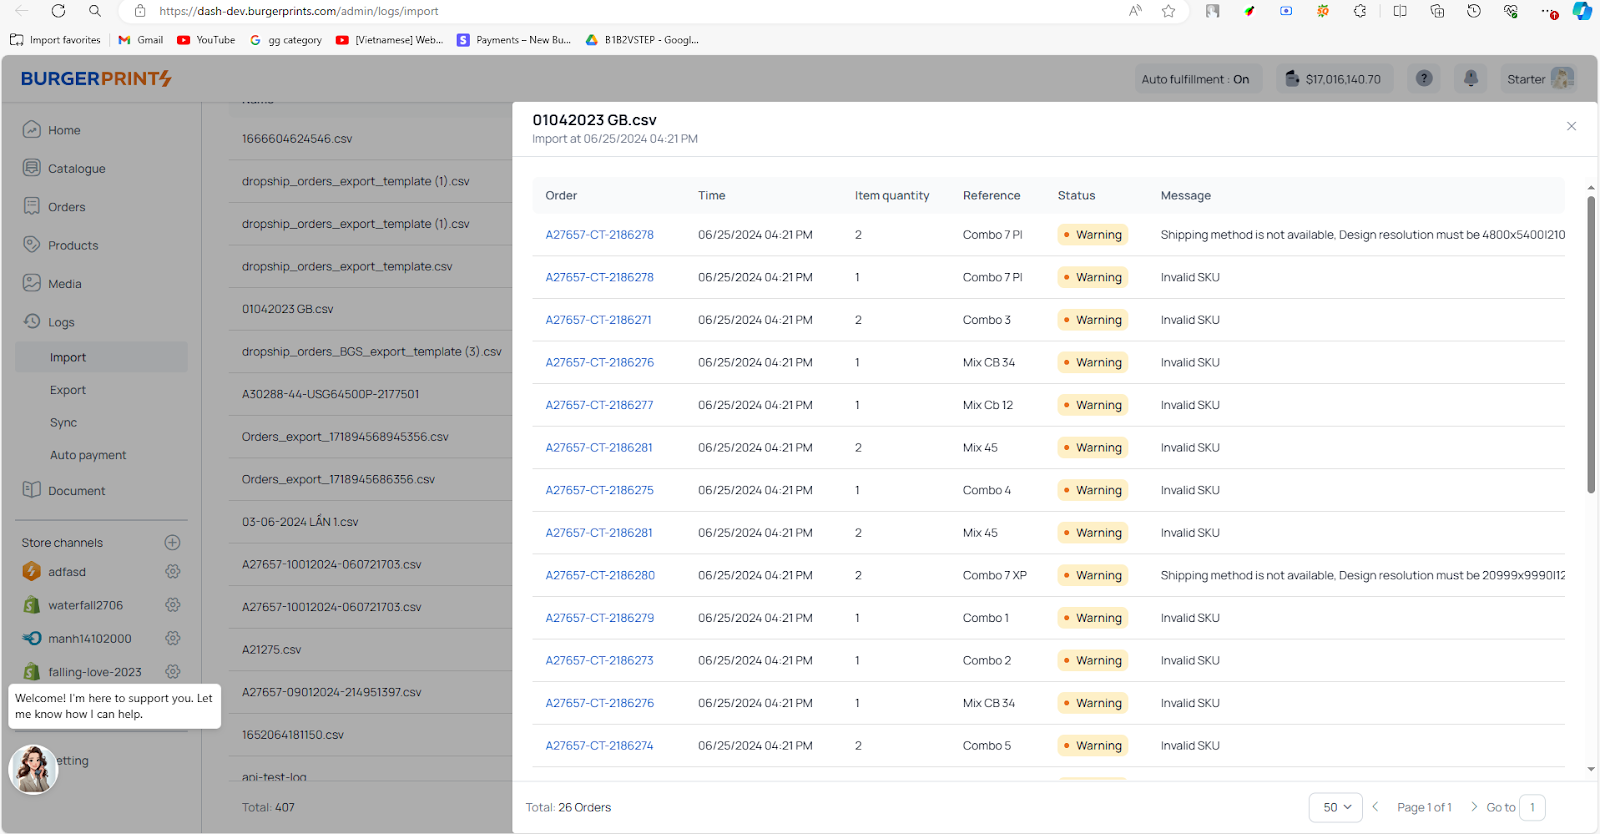
Click on each file name to view detailed information of each imported file along with the status of each uploaded order.
To view the import tracking history, select Import tracking to see the tracking files that have been uploaded to the system.

Click on each file name to view detailed information about each imported file along with the status of each uploaded order tracking.

Guide to Viewing Export History
Step 1: Click on the Logs tab on the navigation bar on the left side of the screen. Then select Export.
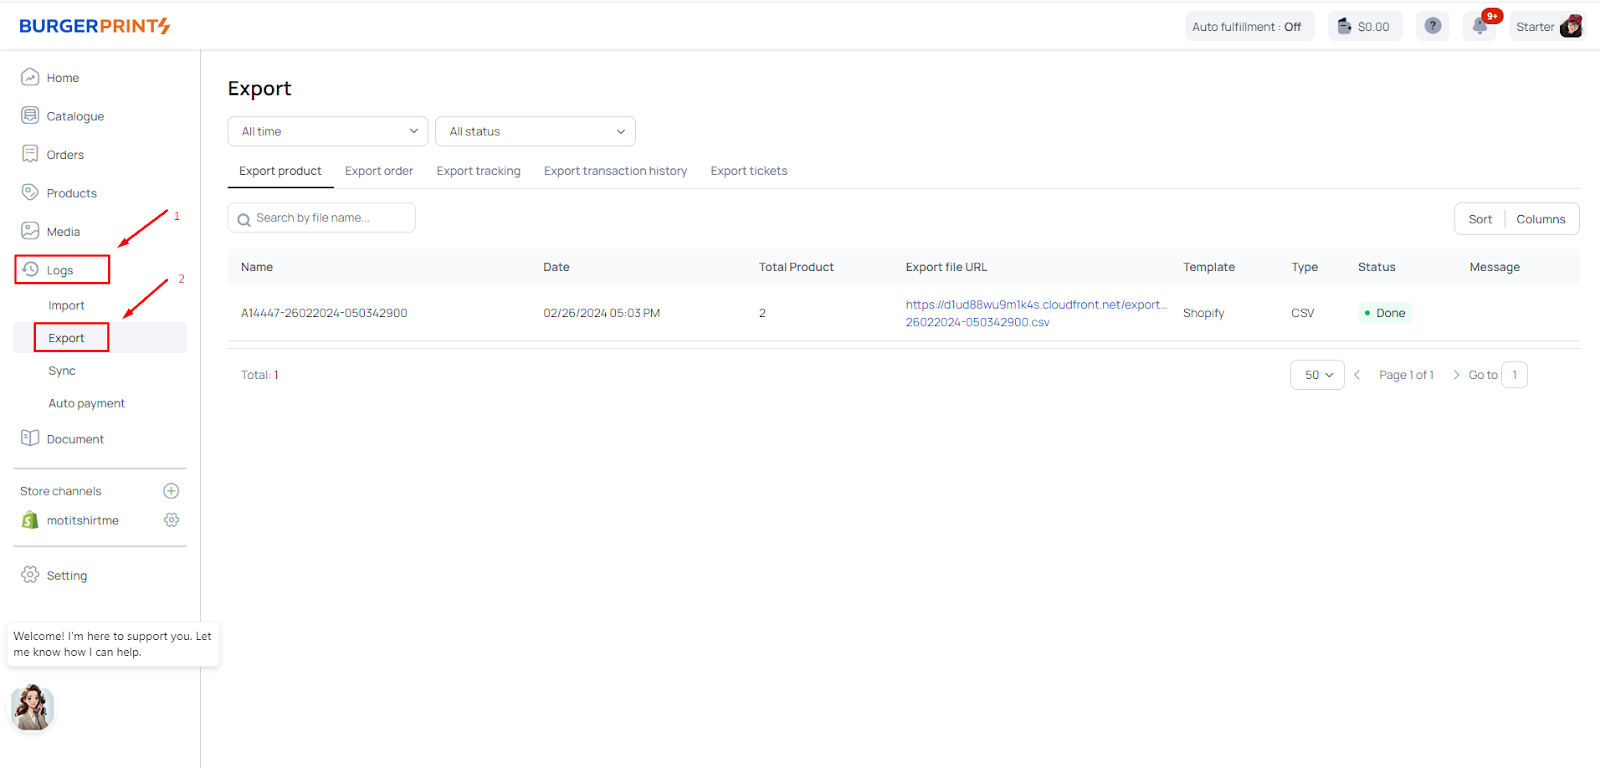
Here, Sellers can view the history of product file exports, orders, tracking, payment history, and tickets from the system, along with details about the time and download links.
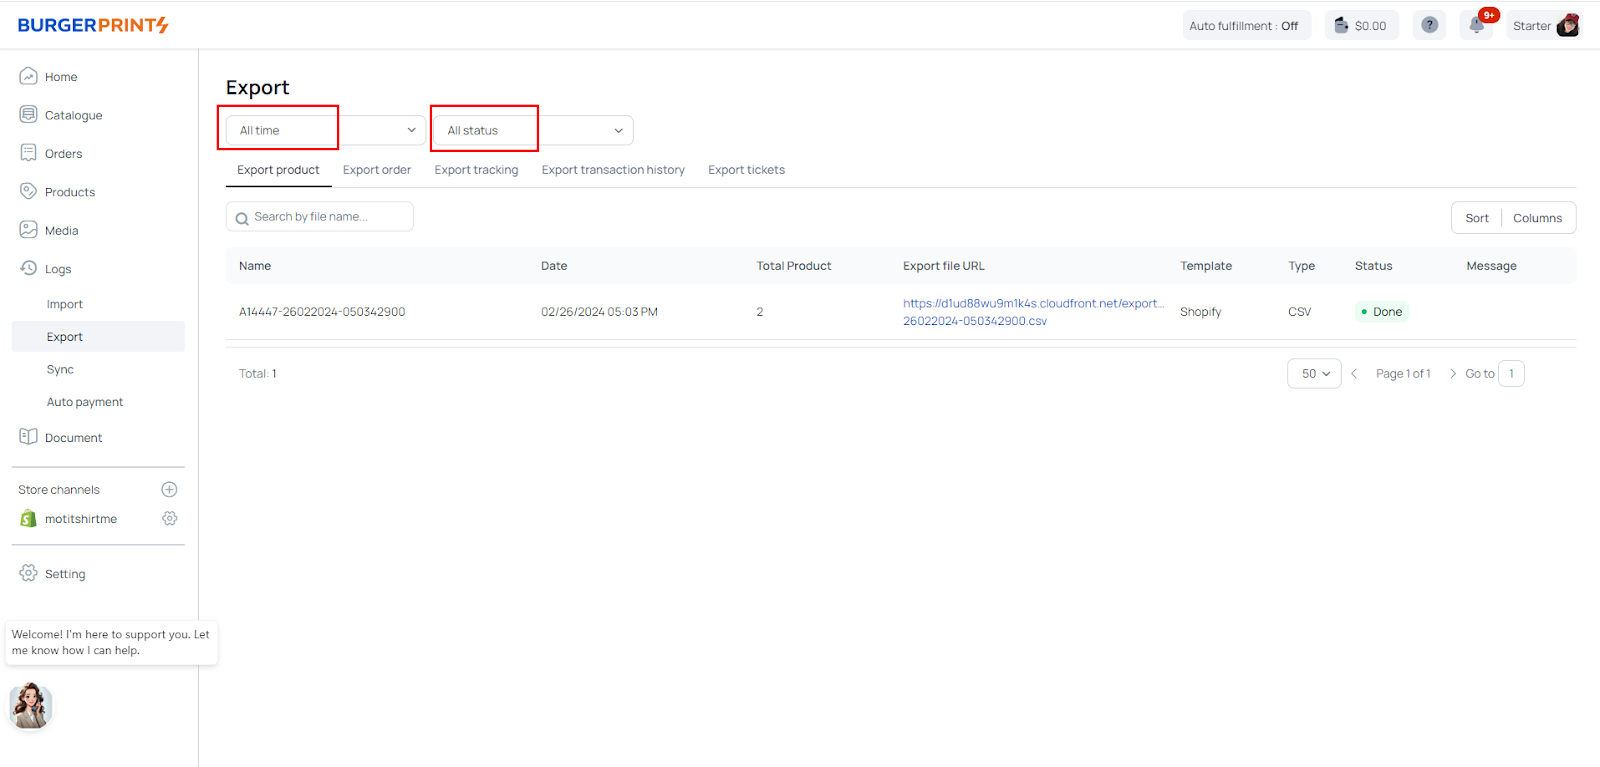
Step 2: Sellers can filter information by time by clicking on All time and selecting the desired time period for viewing export information. Additionally, they can filter by export status, either successful (Done) or unsuccessful (Fail), by clicking on All status.
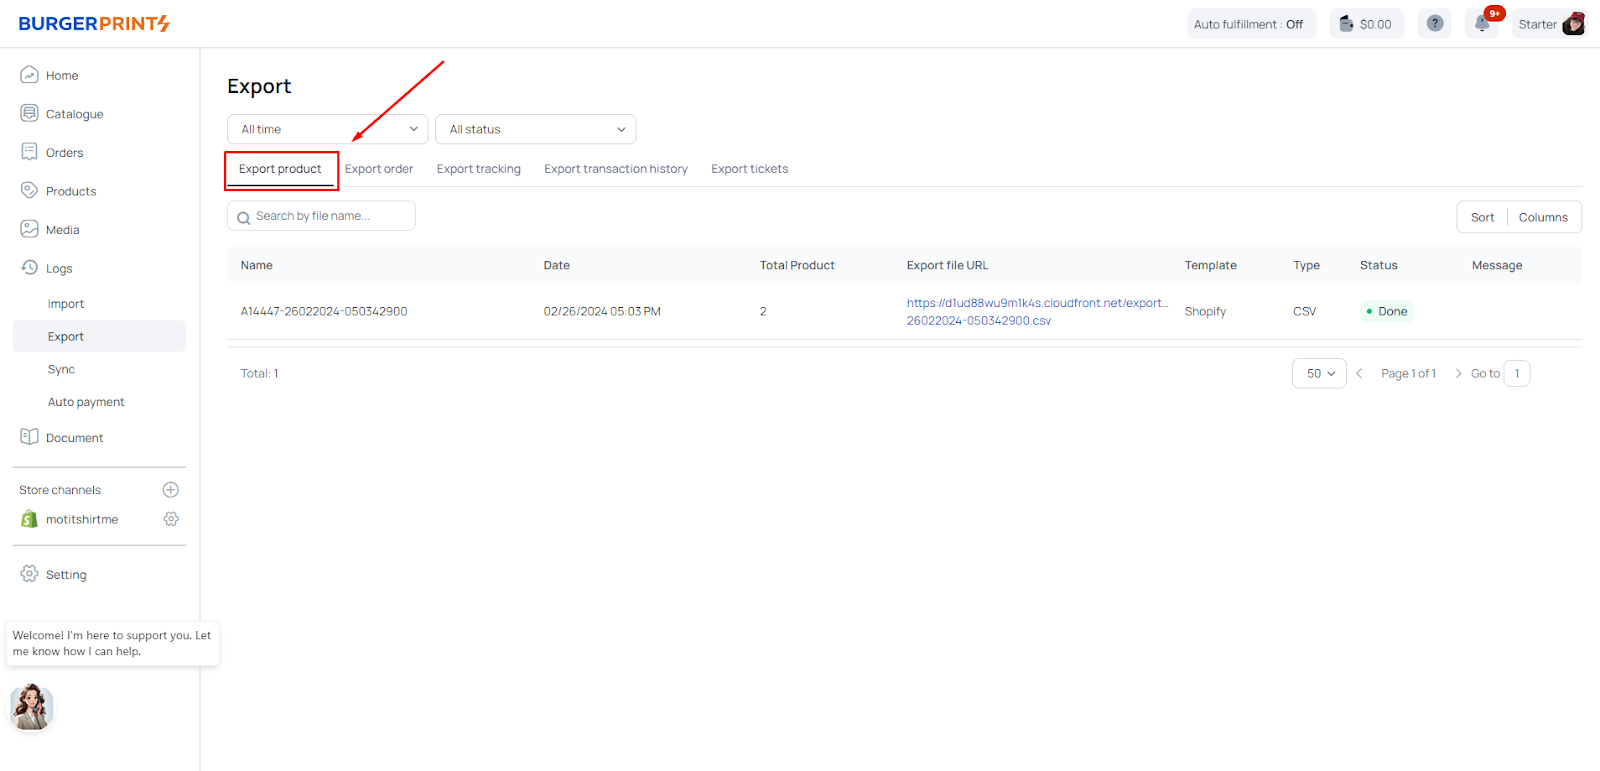
Step 3: To view the product export history, select the Export product option to see the files of products exported from the system. The seller can download the product files by clicking on the corresponding Export file URL.
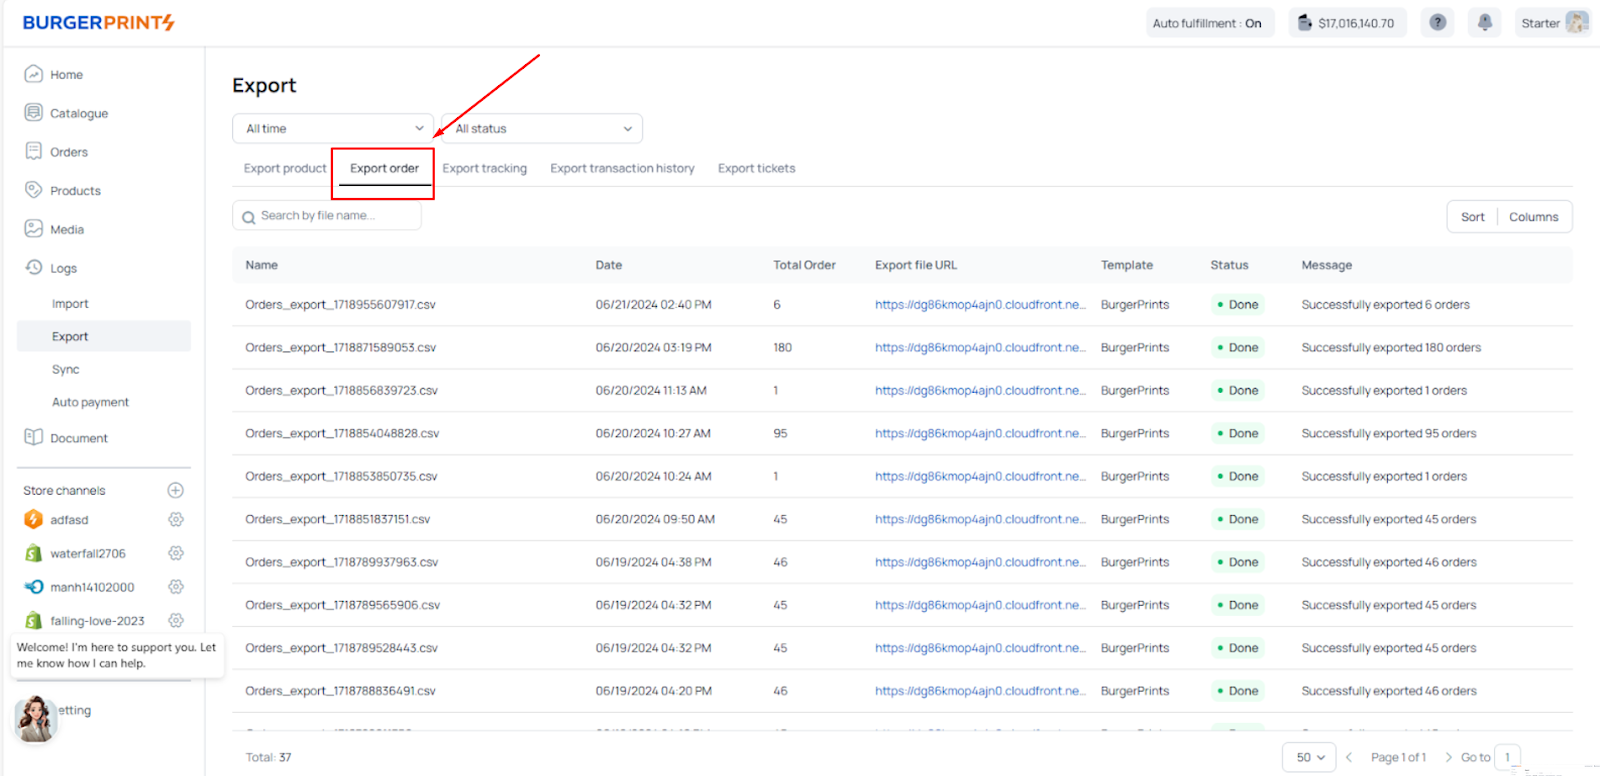
To view the export order history, select the Export order section to see the order files that have been exported from the system. Sellers can download the product files by clicking on the corresponding Export file URL.
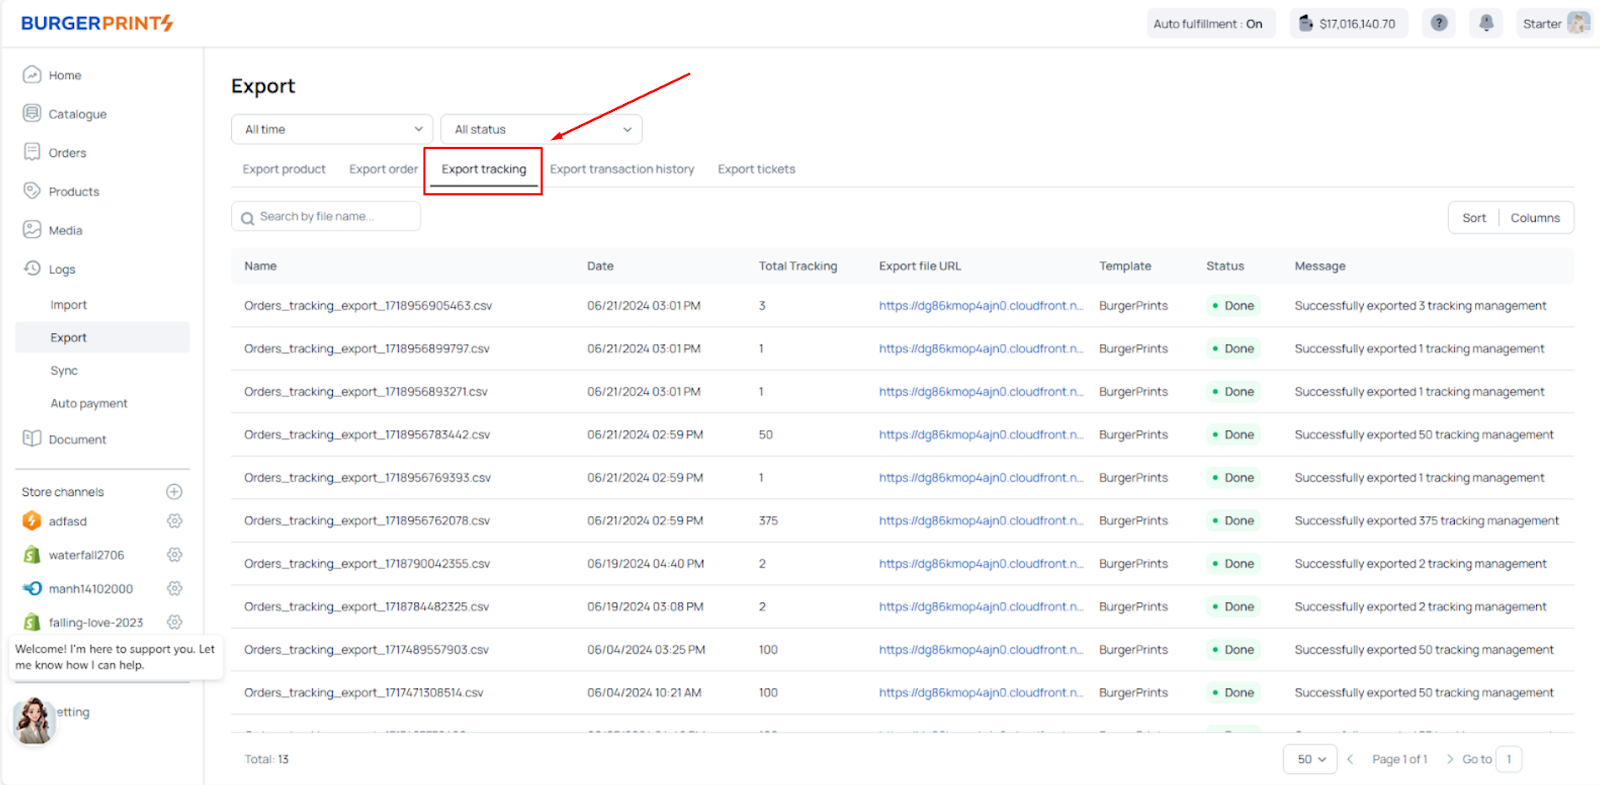
To view the export tracking history, select the Export tracking section to see the order files that have been exported from the system. The seller can download the product files by clicking on the corresponding Export file URL.
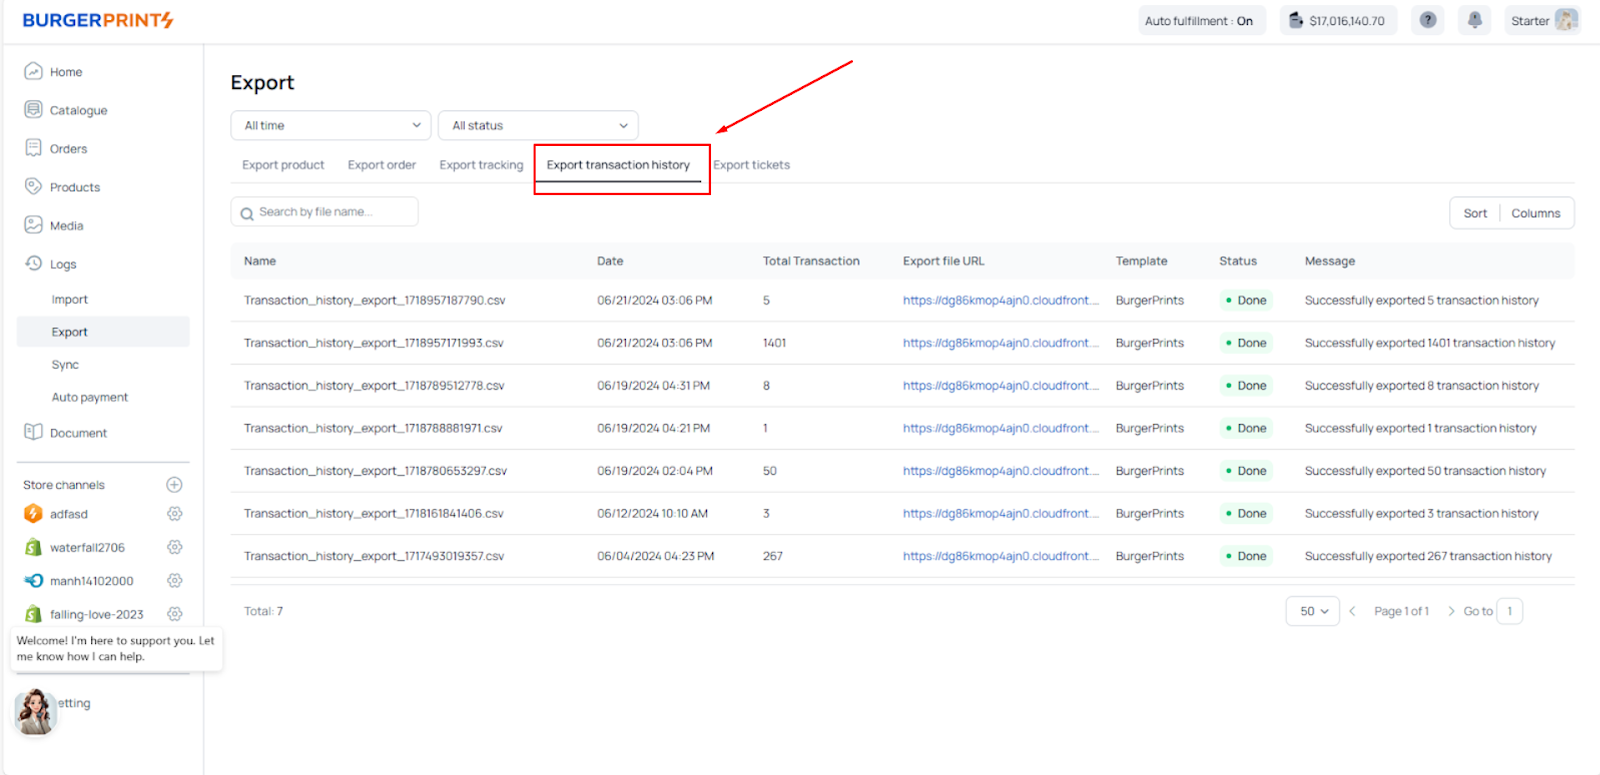
To view the export transaction history, select the Export transaction history section to see the order files that have been exported from the system. Sellers can download the product files by clicking on the corresponding Export file URL.
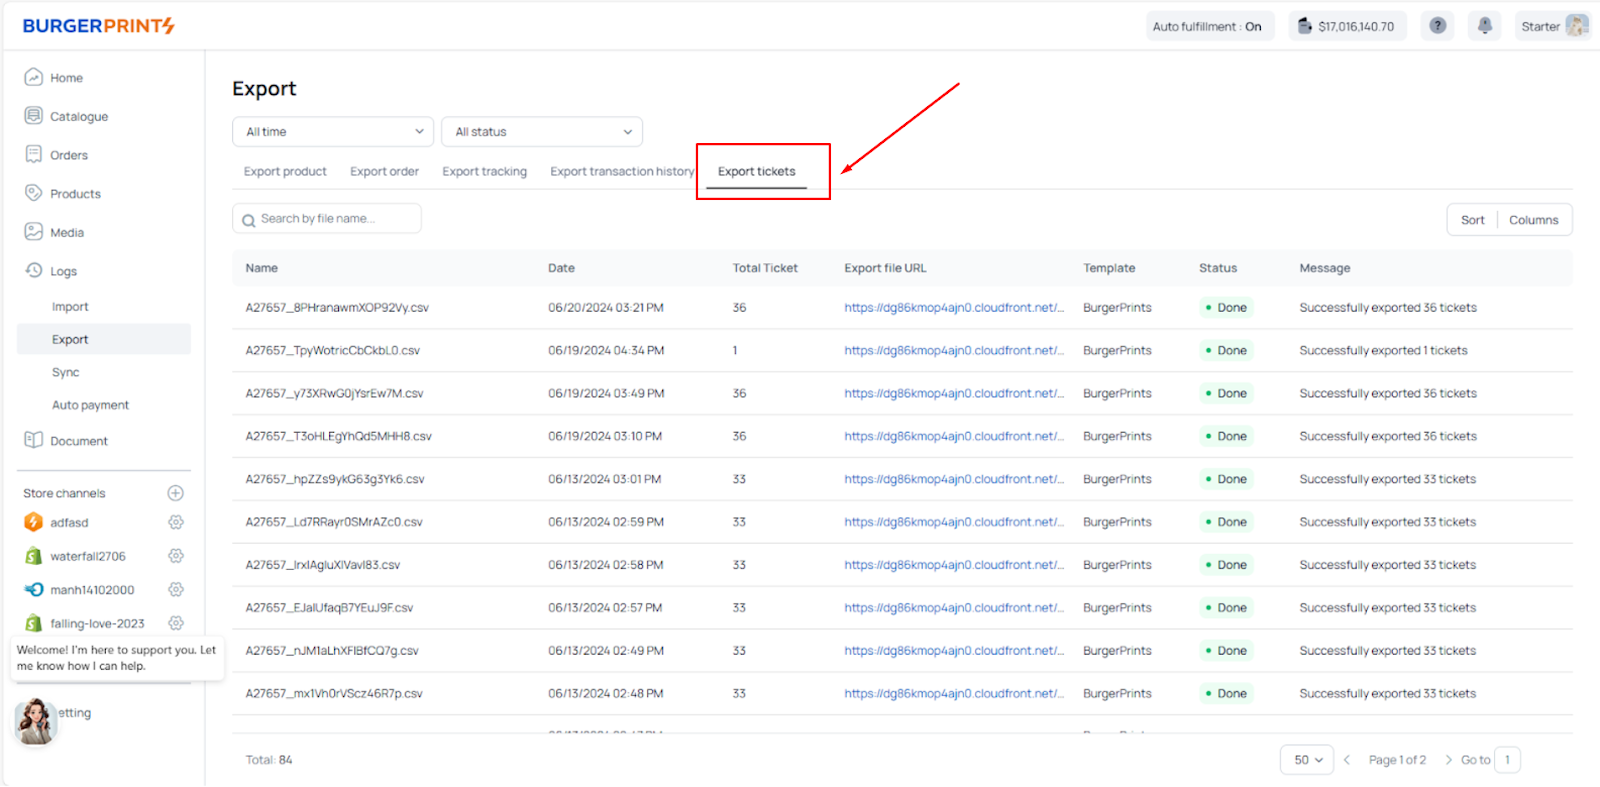
To view the history of export transaction tickets, select the Export tickets section to see the order files that have been exported from the system. Sellers can download the product files by clicking on the corresponding Export file URL.
Guide to Viewing Sync History
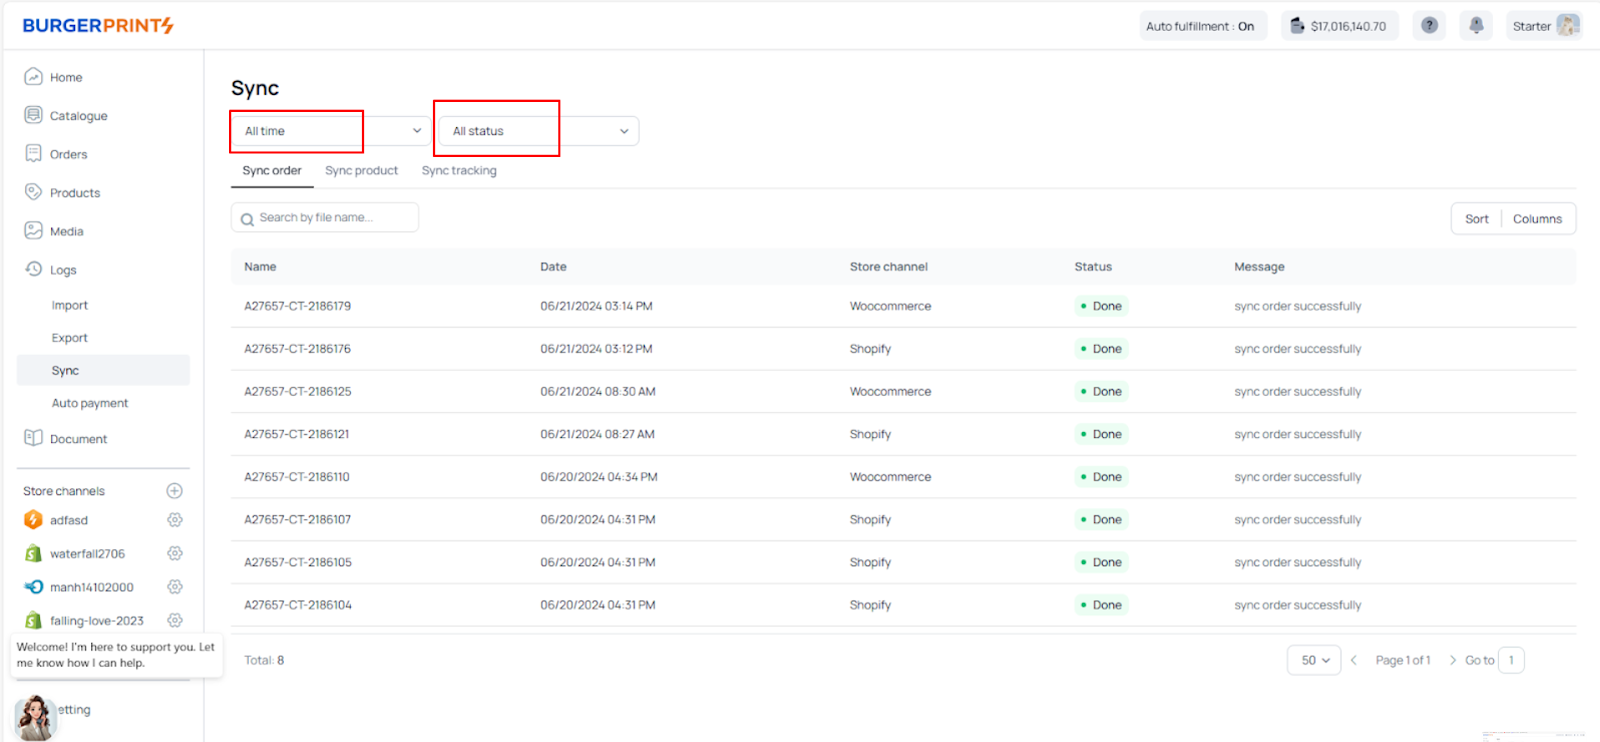
Step 1: Click on the Logs tab in the navigation bar on the left side of the screen. Then select Sync.
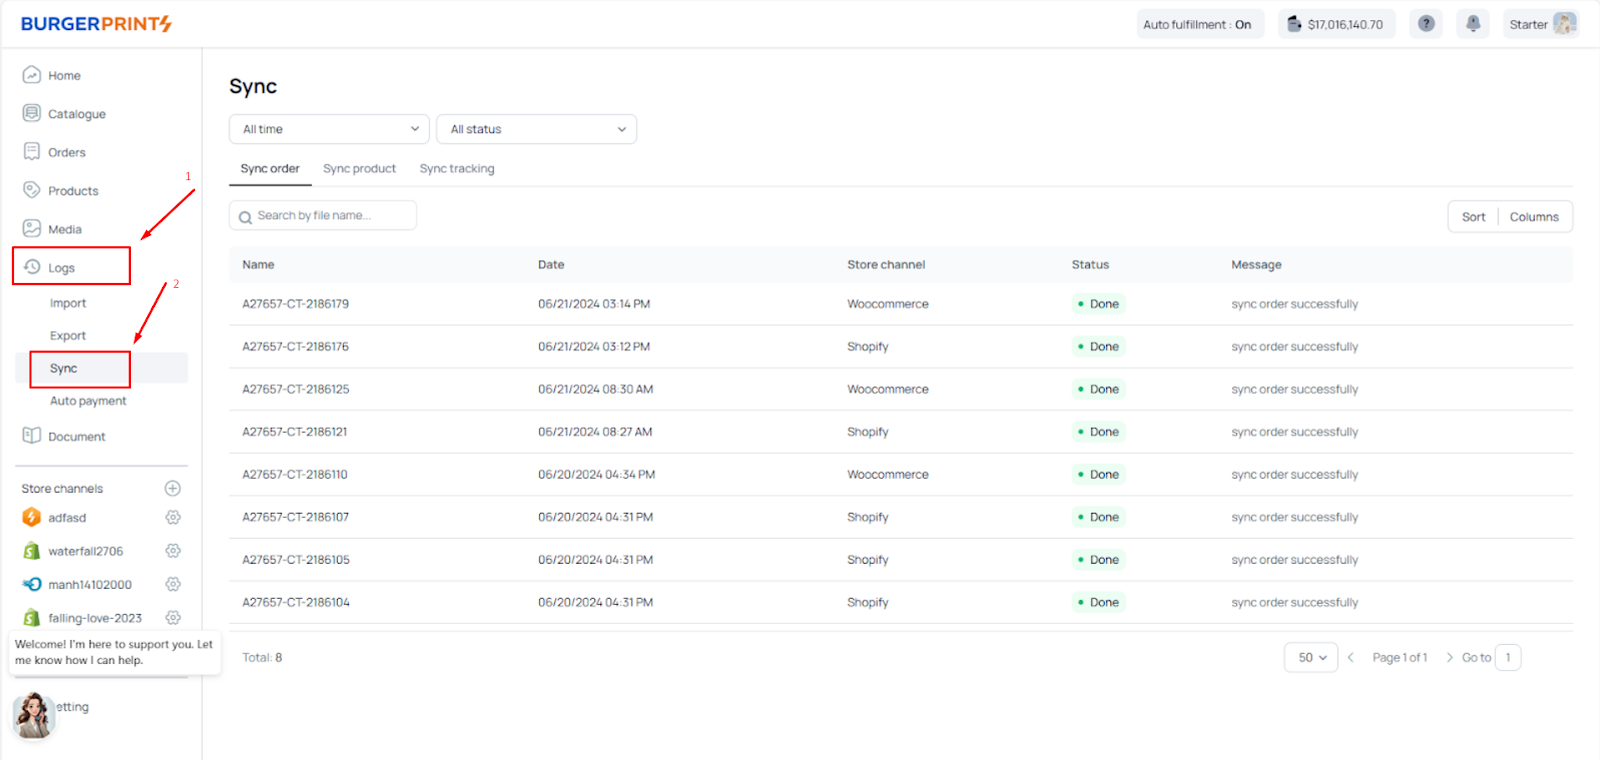
Here, Sellers can view the synchronization history of orders from store channels (such as WooCommerce, Shopify, etc.) to the system, as well as the synchronization activities of products and tracking from the system to the store channels.
Step 2: Sellers can filter information by time by clicking “All time” and selecting the time period they want to view Sync information. Additionally, they can filter by Sync status such as successful (Done), unsuccessful (Fail), or in progress (Processing) by clicking “All status”.
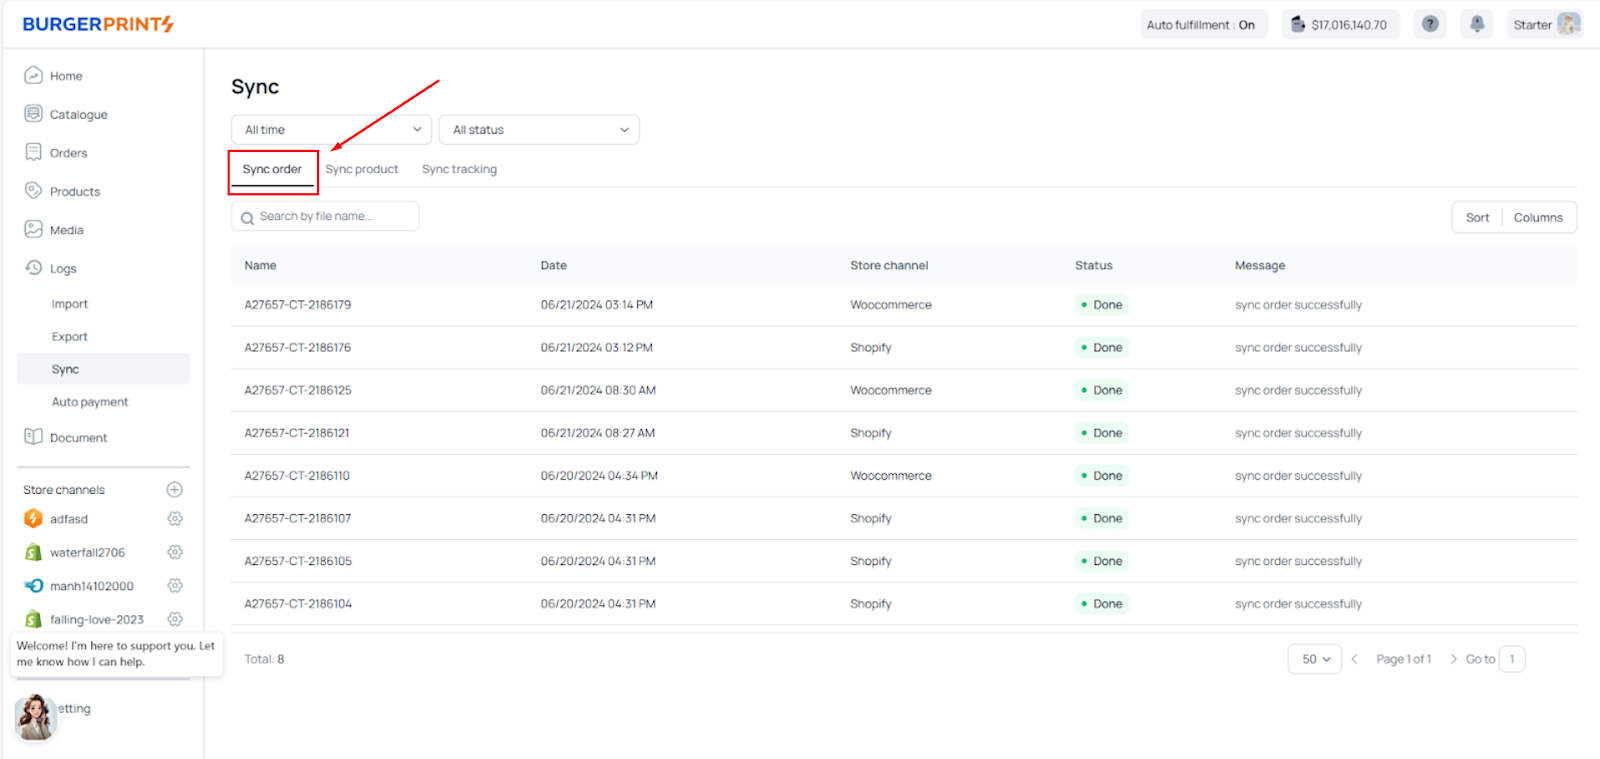
Step 3: To view the order synchronization history, select the Sync order section to see the orders that have been synchronized from the store channels to the system with their corresponding synchronization statuses.
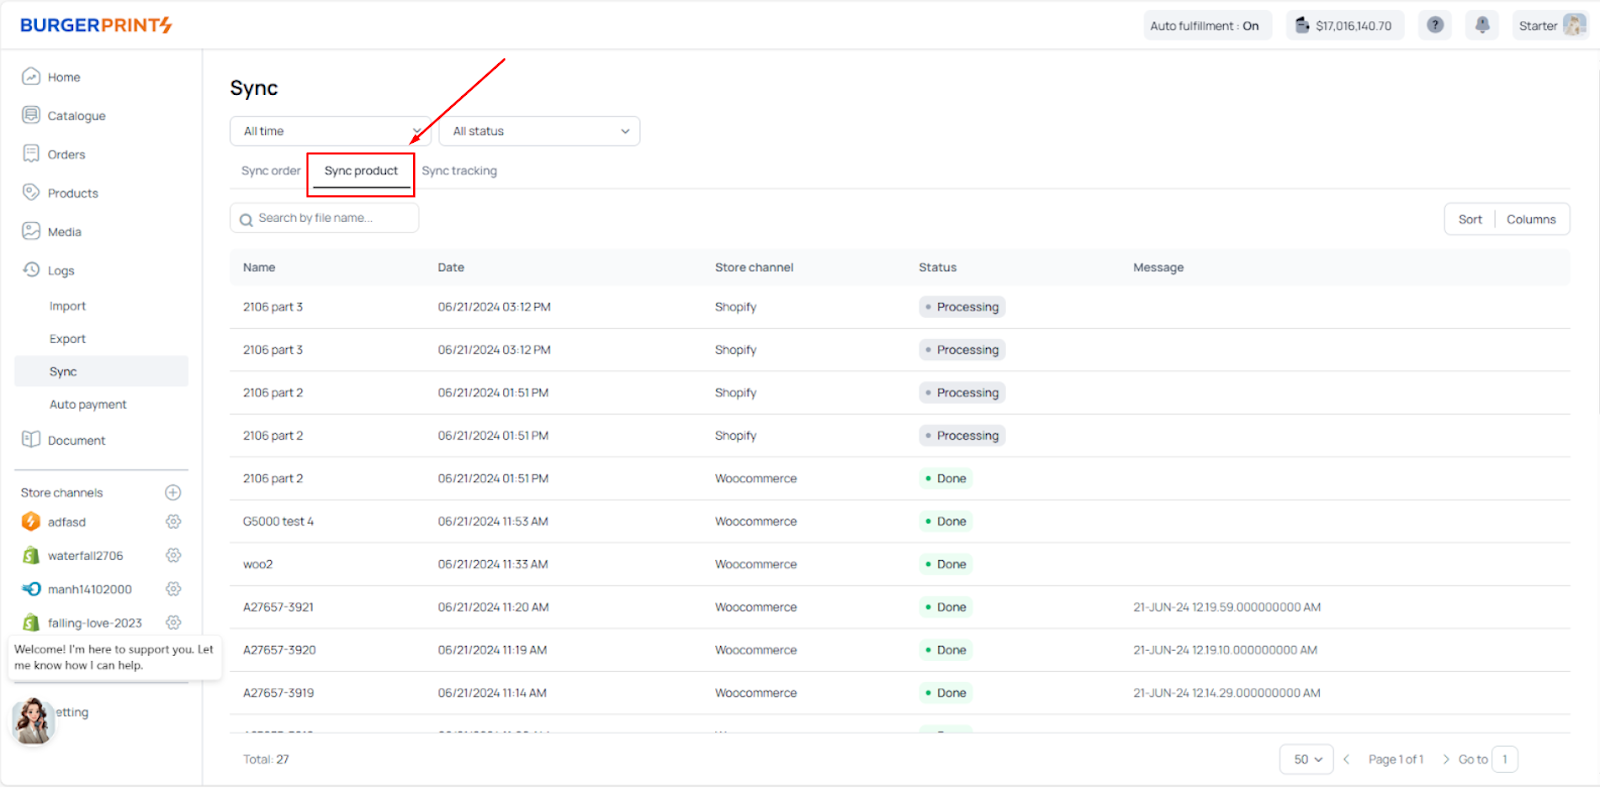
To view the product synchronization history, select the “Sync product” section to see the products that have been synchronized from the system to store channels such as Shopify, WooCommerce, etc., along with their corresponding synchronization statuses.
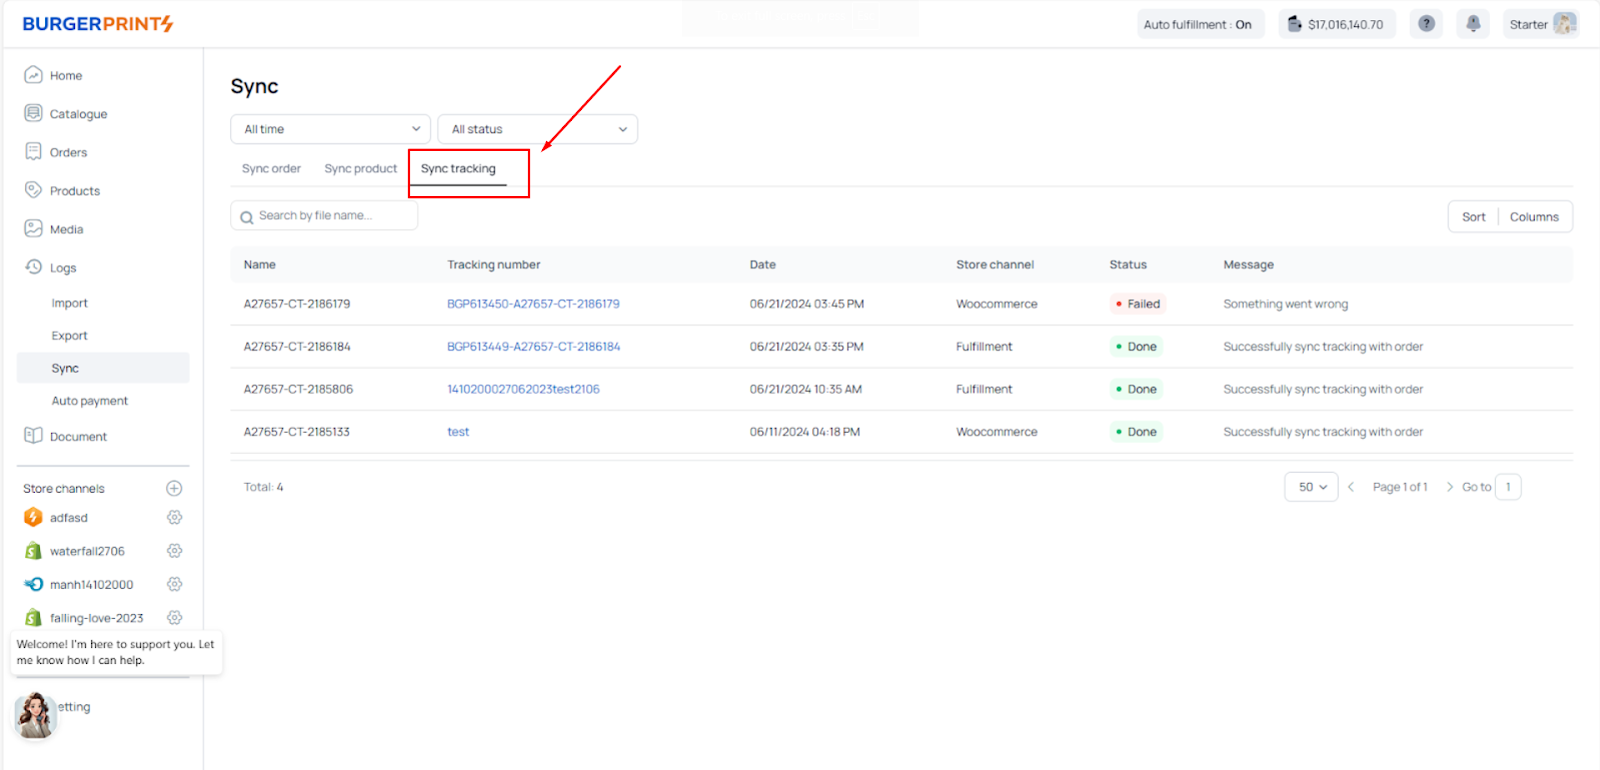
To view the sync tracking history, select the Sync Tracking option to see the order tracking that has been synchronized from the system to store channels such as Shopify, WooCommerce, etc., along with their corresponding sync statuses.
Guide to view Auto payment history
Step 1: Click on the Logs tab on the left navigation bar. Then select Auto payment.
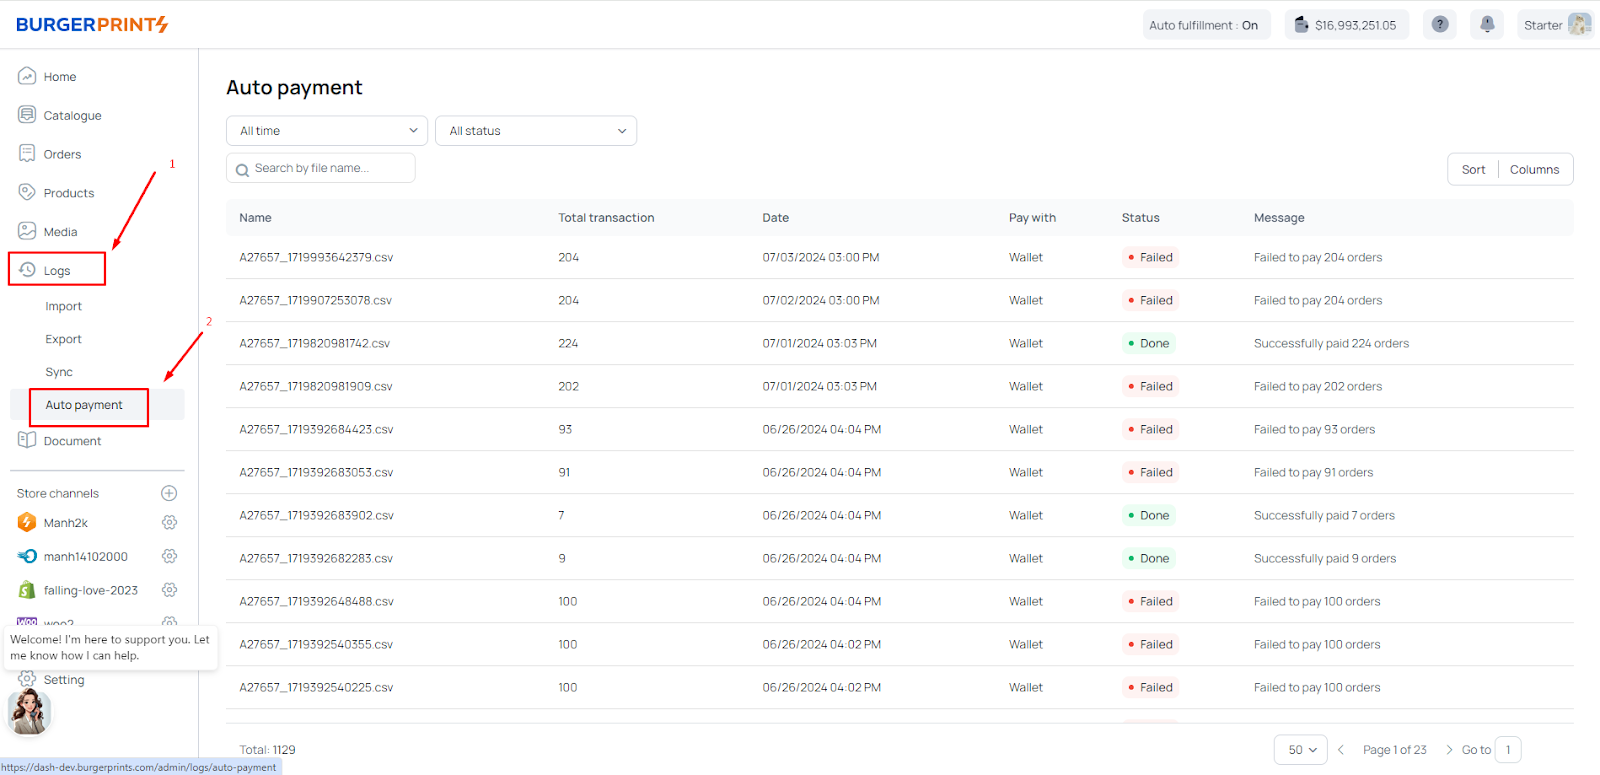
Here, Seller can view the detailed history of automatic payment transactions when using the Auto fulfillment feature.
Step 2: Sellers can filter the information by time by clicking on All time and selecting the time period you want to view the payment information. At the same time, filter by payment status such as successful (Done), unsuccessful (Fail), or in progress (Processing) by clicking on All status.
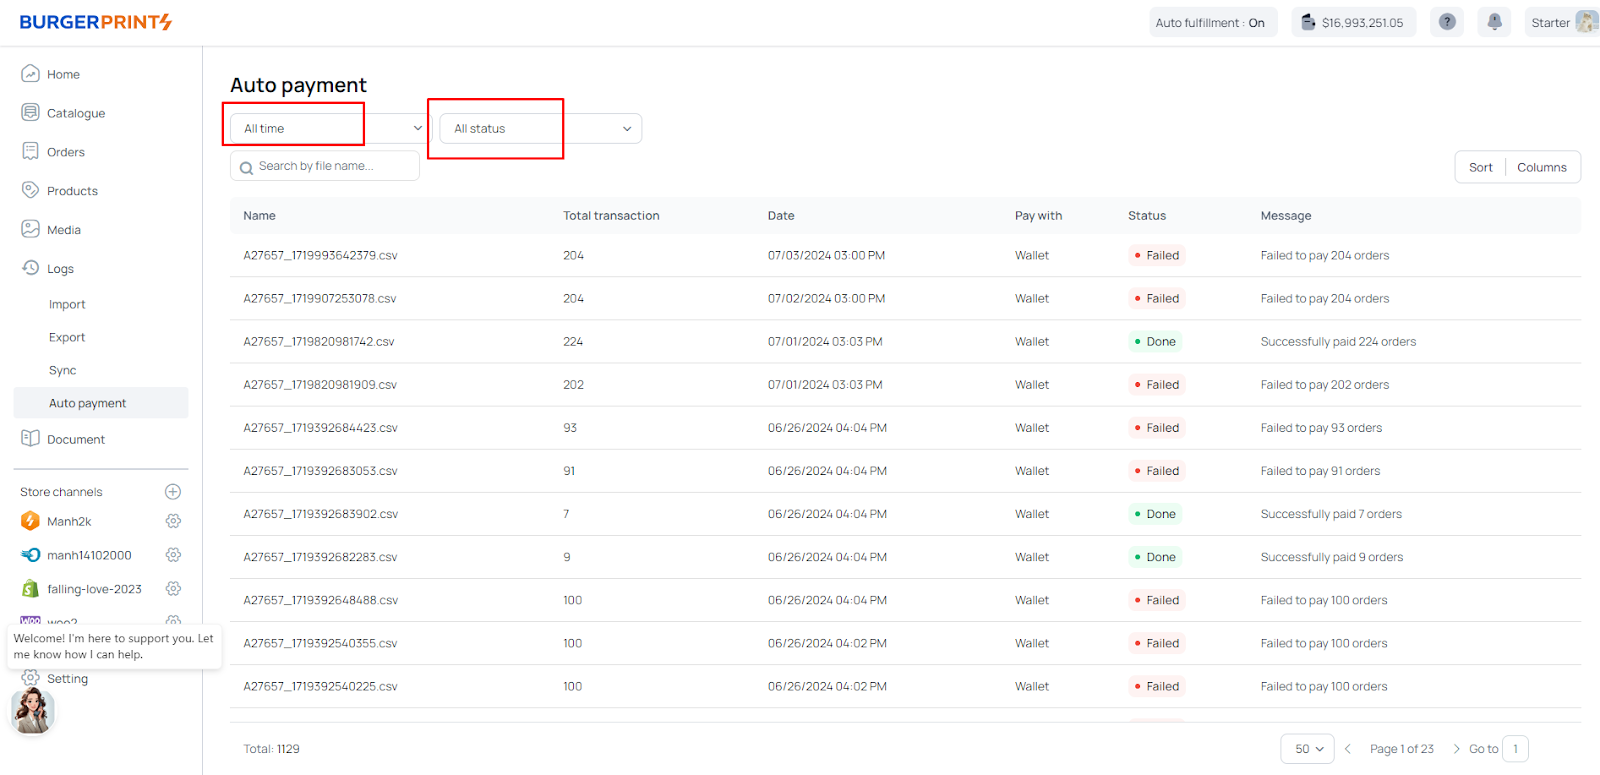
Step 3: To view detailed payment history of each transaction, the Seller can click on each transaction.

If you have any questions or encounter any issues, please contact our support team immediately for the best assistance.