


 Tiếng Việt
Here’s how to create a Product on BurgerPrints
If you do not know how to create a Product (campaign) on BurgerPrints, please refer to the instructions in this article.
Step 1: To create a Product, you need to access the dashboard, then select Products.
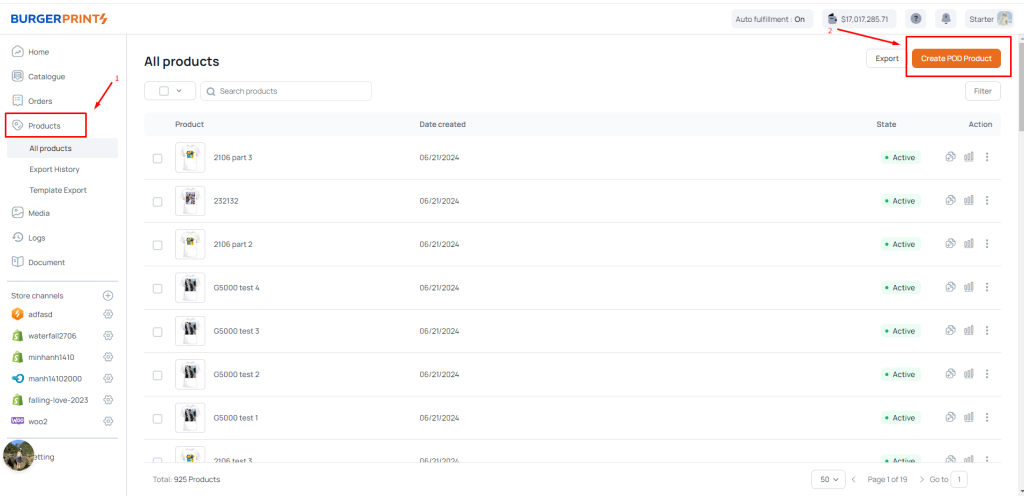
Step 2: On the Product interface, click on Create POD Product.
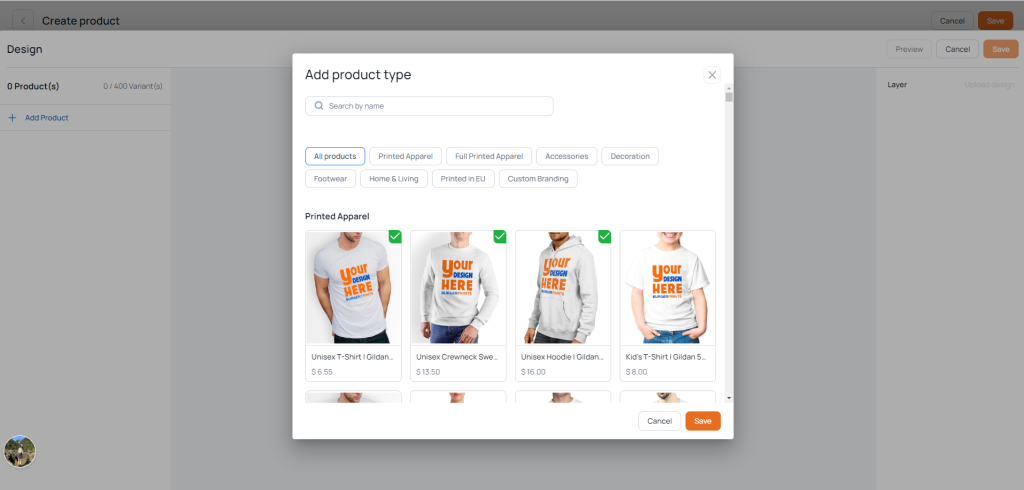
Step 3: In the Create Product interface, you have the option to add one or more types of products in the Add product type section. Then, click Save to save your changes.
Step 4: You will then be taken to the Design interface to create a design for the product you have selected. Click on the front or back of the product (Front or Back). Upload your design to apply it.
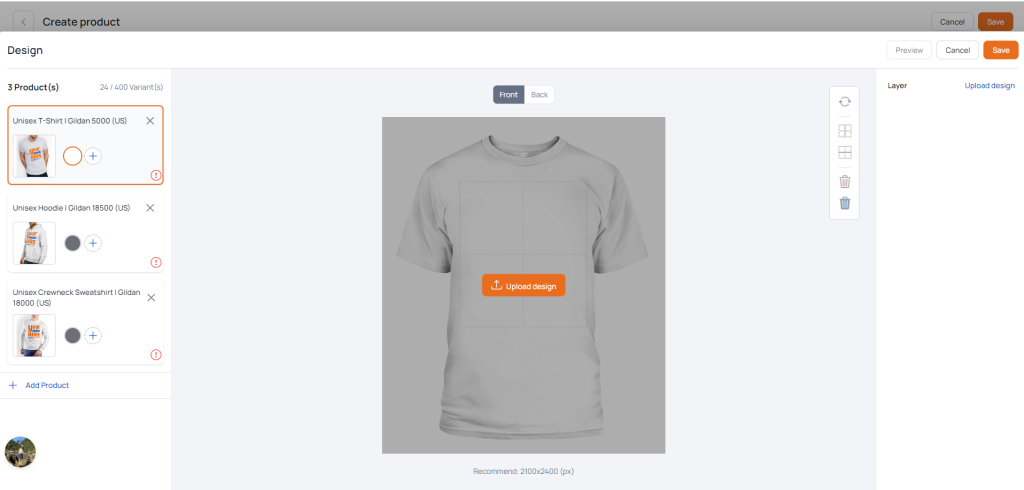
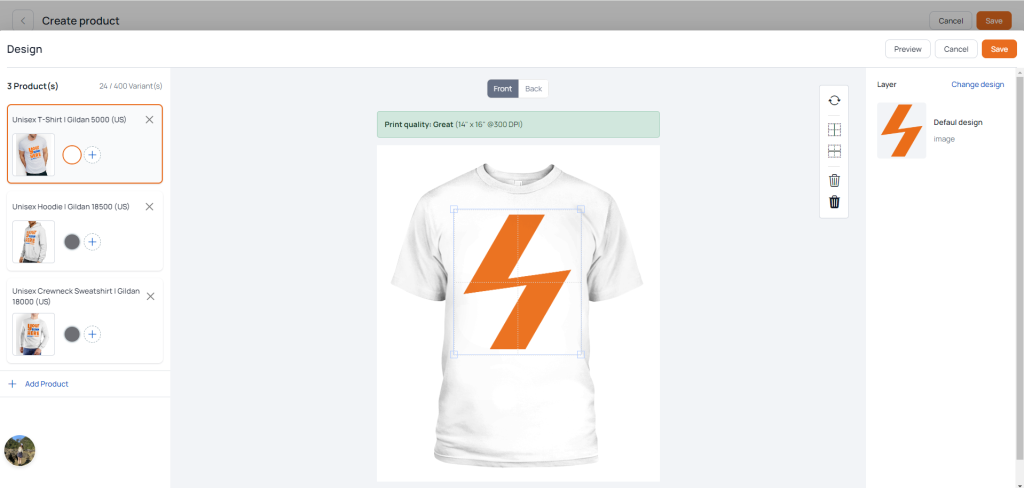
After selecting to upload a design, you can adjust the design, delete the design for the displayed product, or for all products in the column as illustrated, then upload a new design.
In the Products section, you can continue to add products by clicking on Add Product. For the products below, click on the plus icon to add more colors.
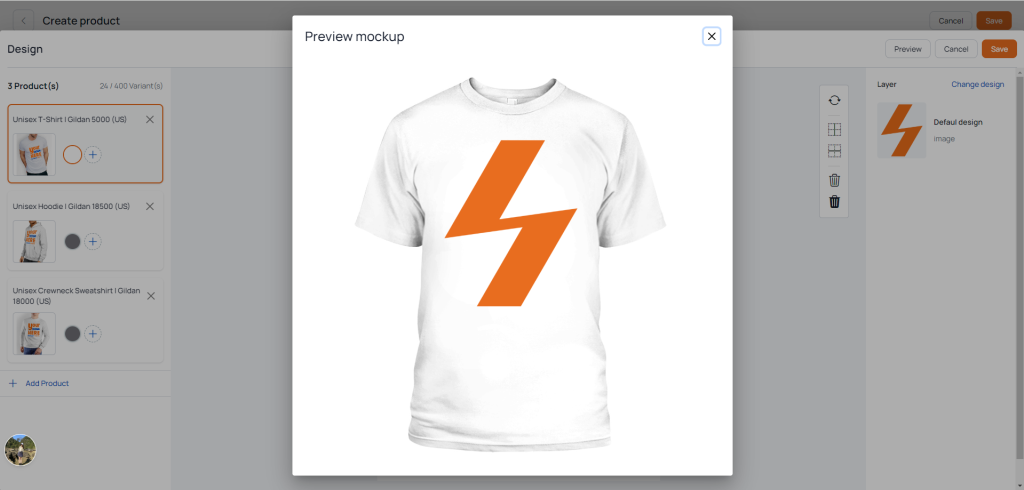
If you want to preview the product mockup, click on the Preview button on the top of the right.
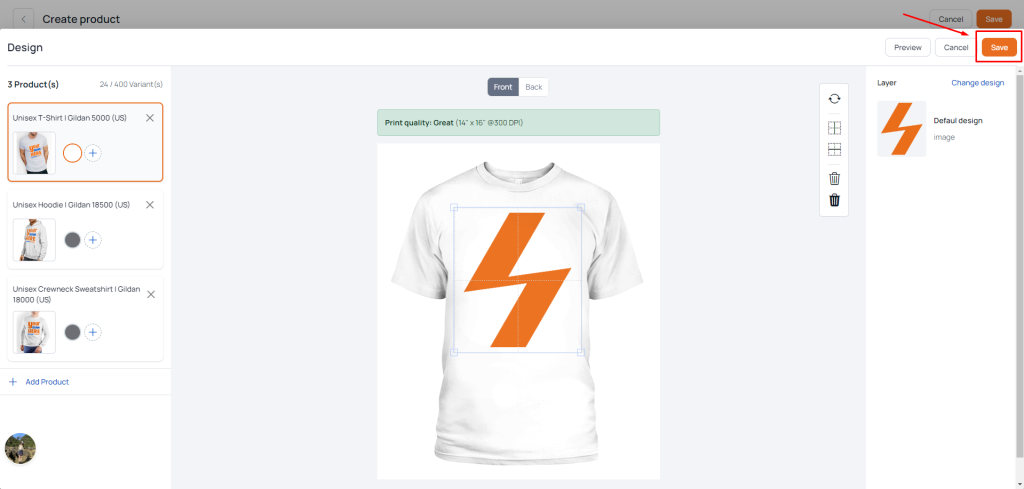
Then click Save to move next step.
Step 5: After clicking save, you will be directed to a new interface to enter the necessary information.
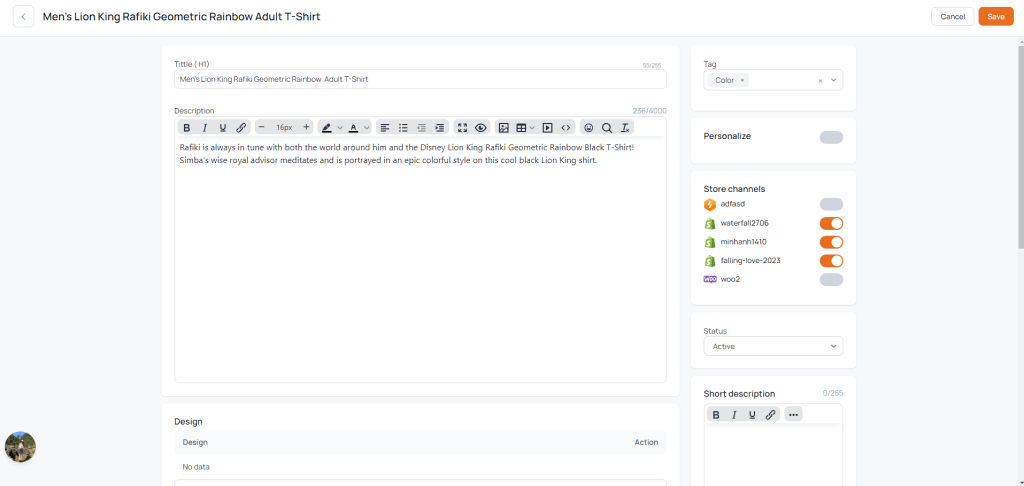
In the Info section, enter the Title for the Product. Then, enter the description, up to 225 characters.
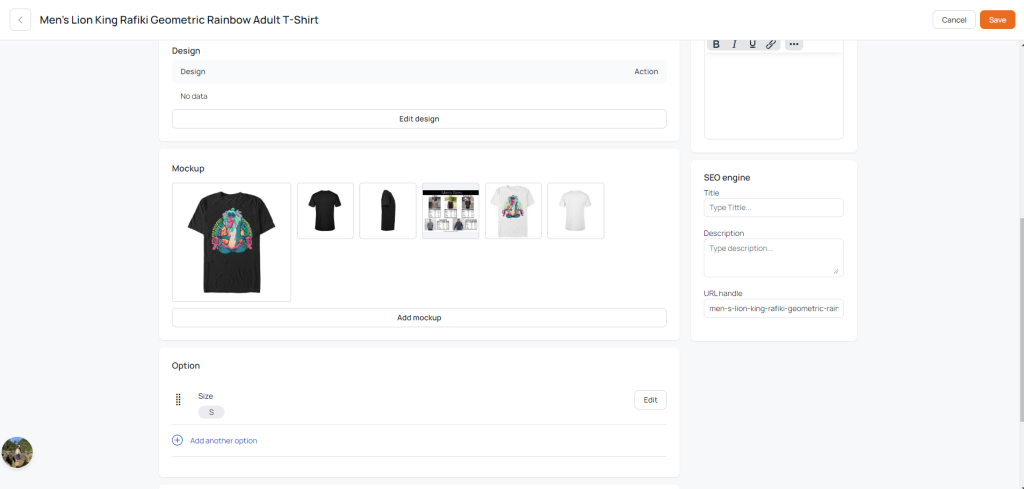
In the Design section: You can change or edit the design by clicking on Edit design.
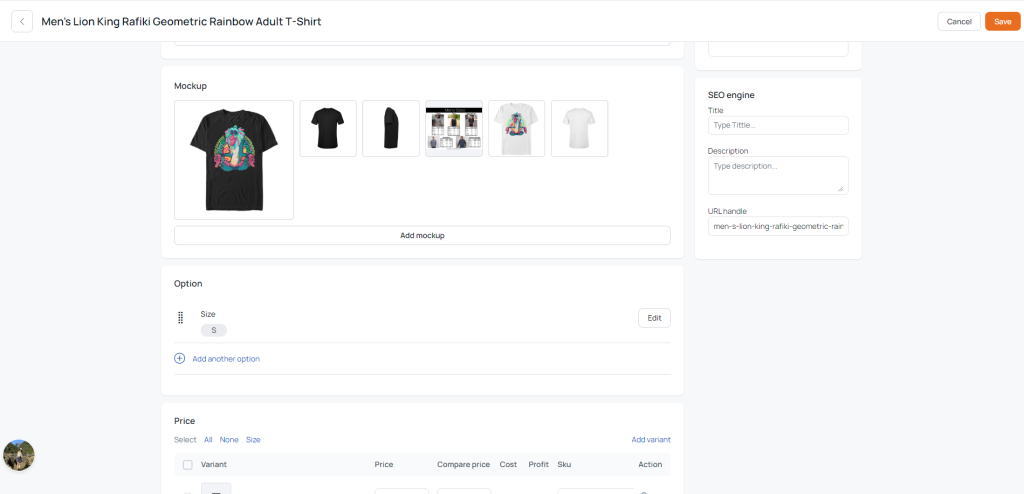
In the Mockup section: You can delete system-generated mockups by clicking on the X icon on the mockups, and add new mockups by clicking on Add mockup.
In the Tag section: Select the tags you want to attach if available. Collection: Choose your created collection if available.
In the Store channels section: Select the store you want to post your product on. We have product synchronization with Shopify and Woocommerce.
In the Default image section: You can change the default image by clicking on change, selecting the image you want to set, and clicking save.
In the SEO engine section: You can reset the title, description, and create a URL for the product.
After entering all the above data, press Save to create the product.
So you have created a Product to sell on your stores. Additionally, once you have a Product, you can create Fulfillment orders from these Products.